


If you’re too busy to head to a nail bar right now (or want to save some funds), you’re in luck. Doing your own nails at-home has never been easier.
From the prep that’s required to ensure long-lasting results, to the clever products that make at-home manis stress-free, our tried-and-tested guide to doing your nails at-home will ensure you always put your best hand forward.
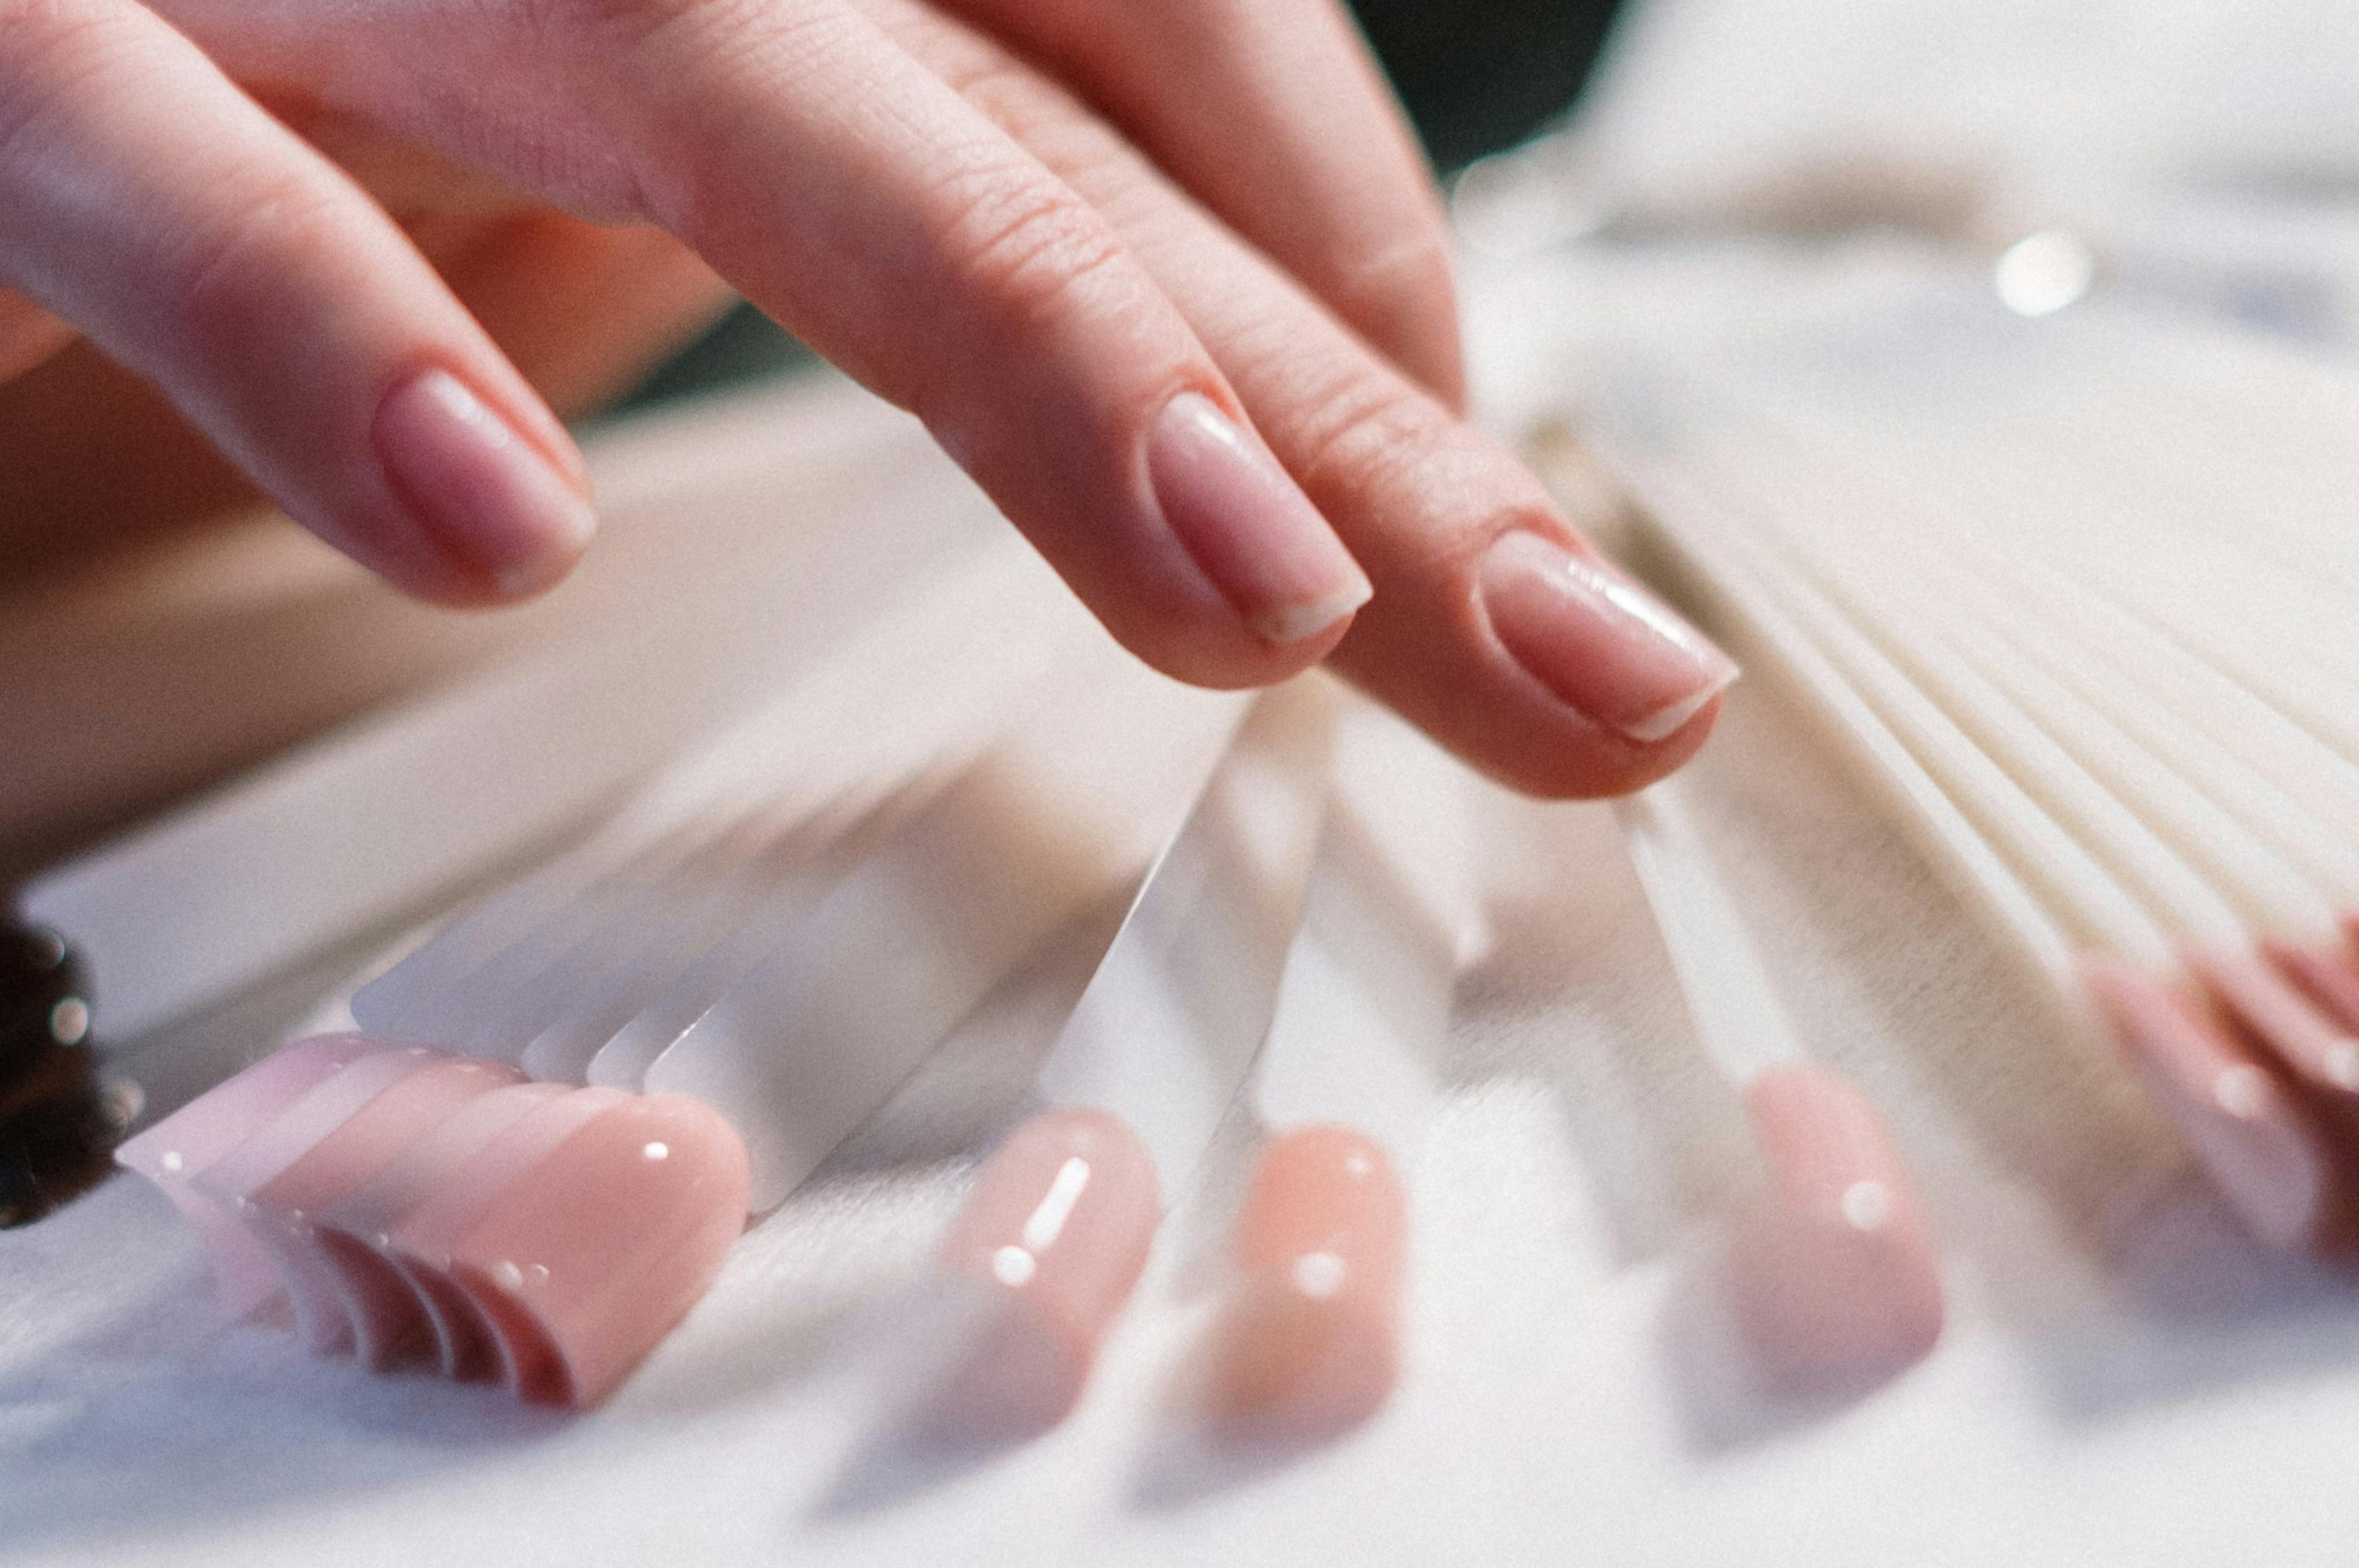
Consider your nail prep
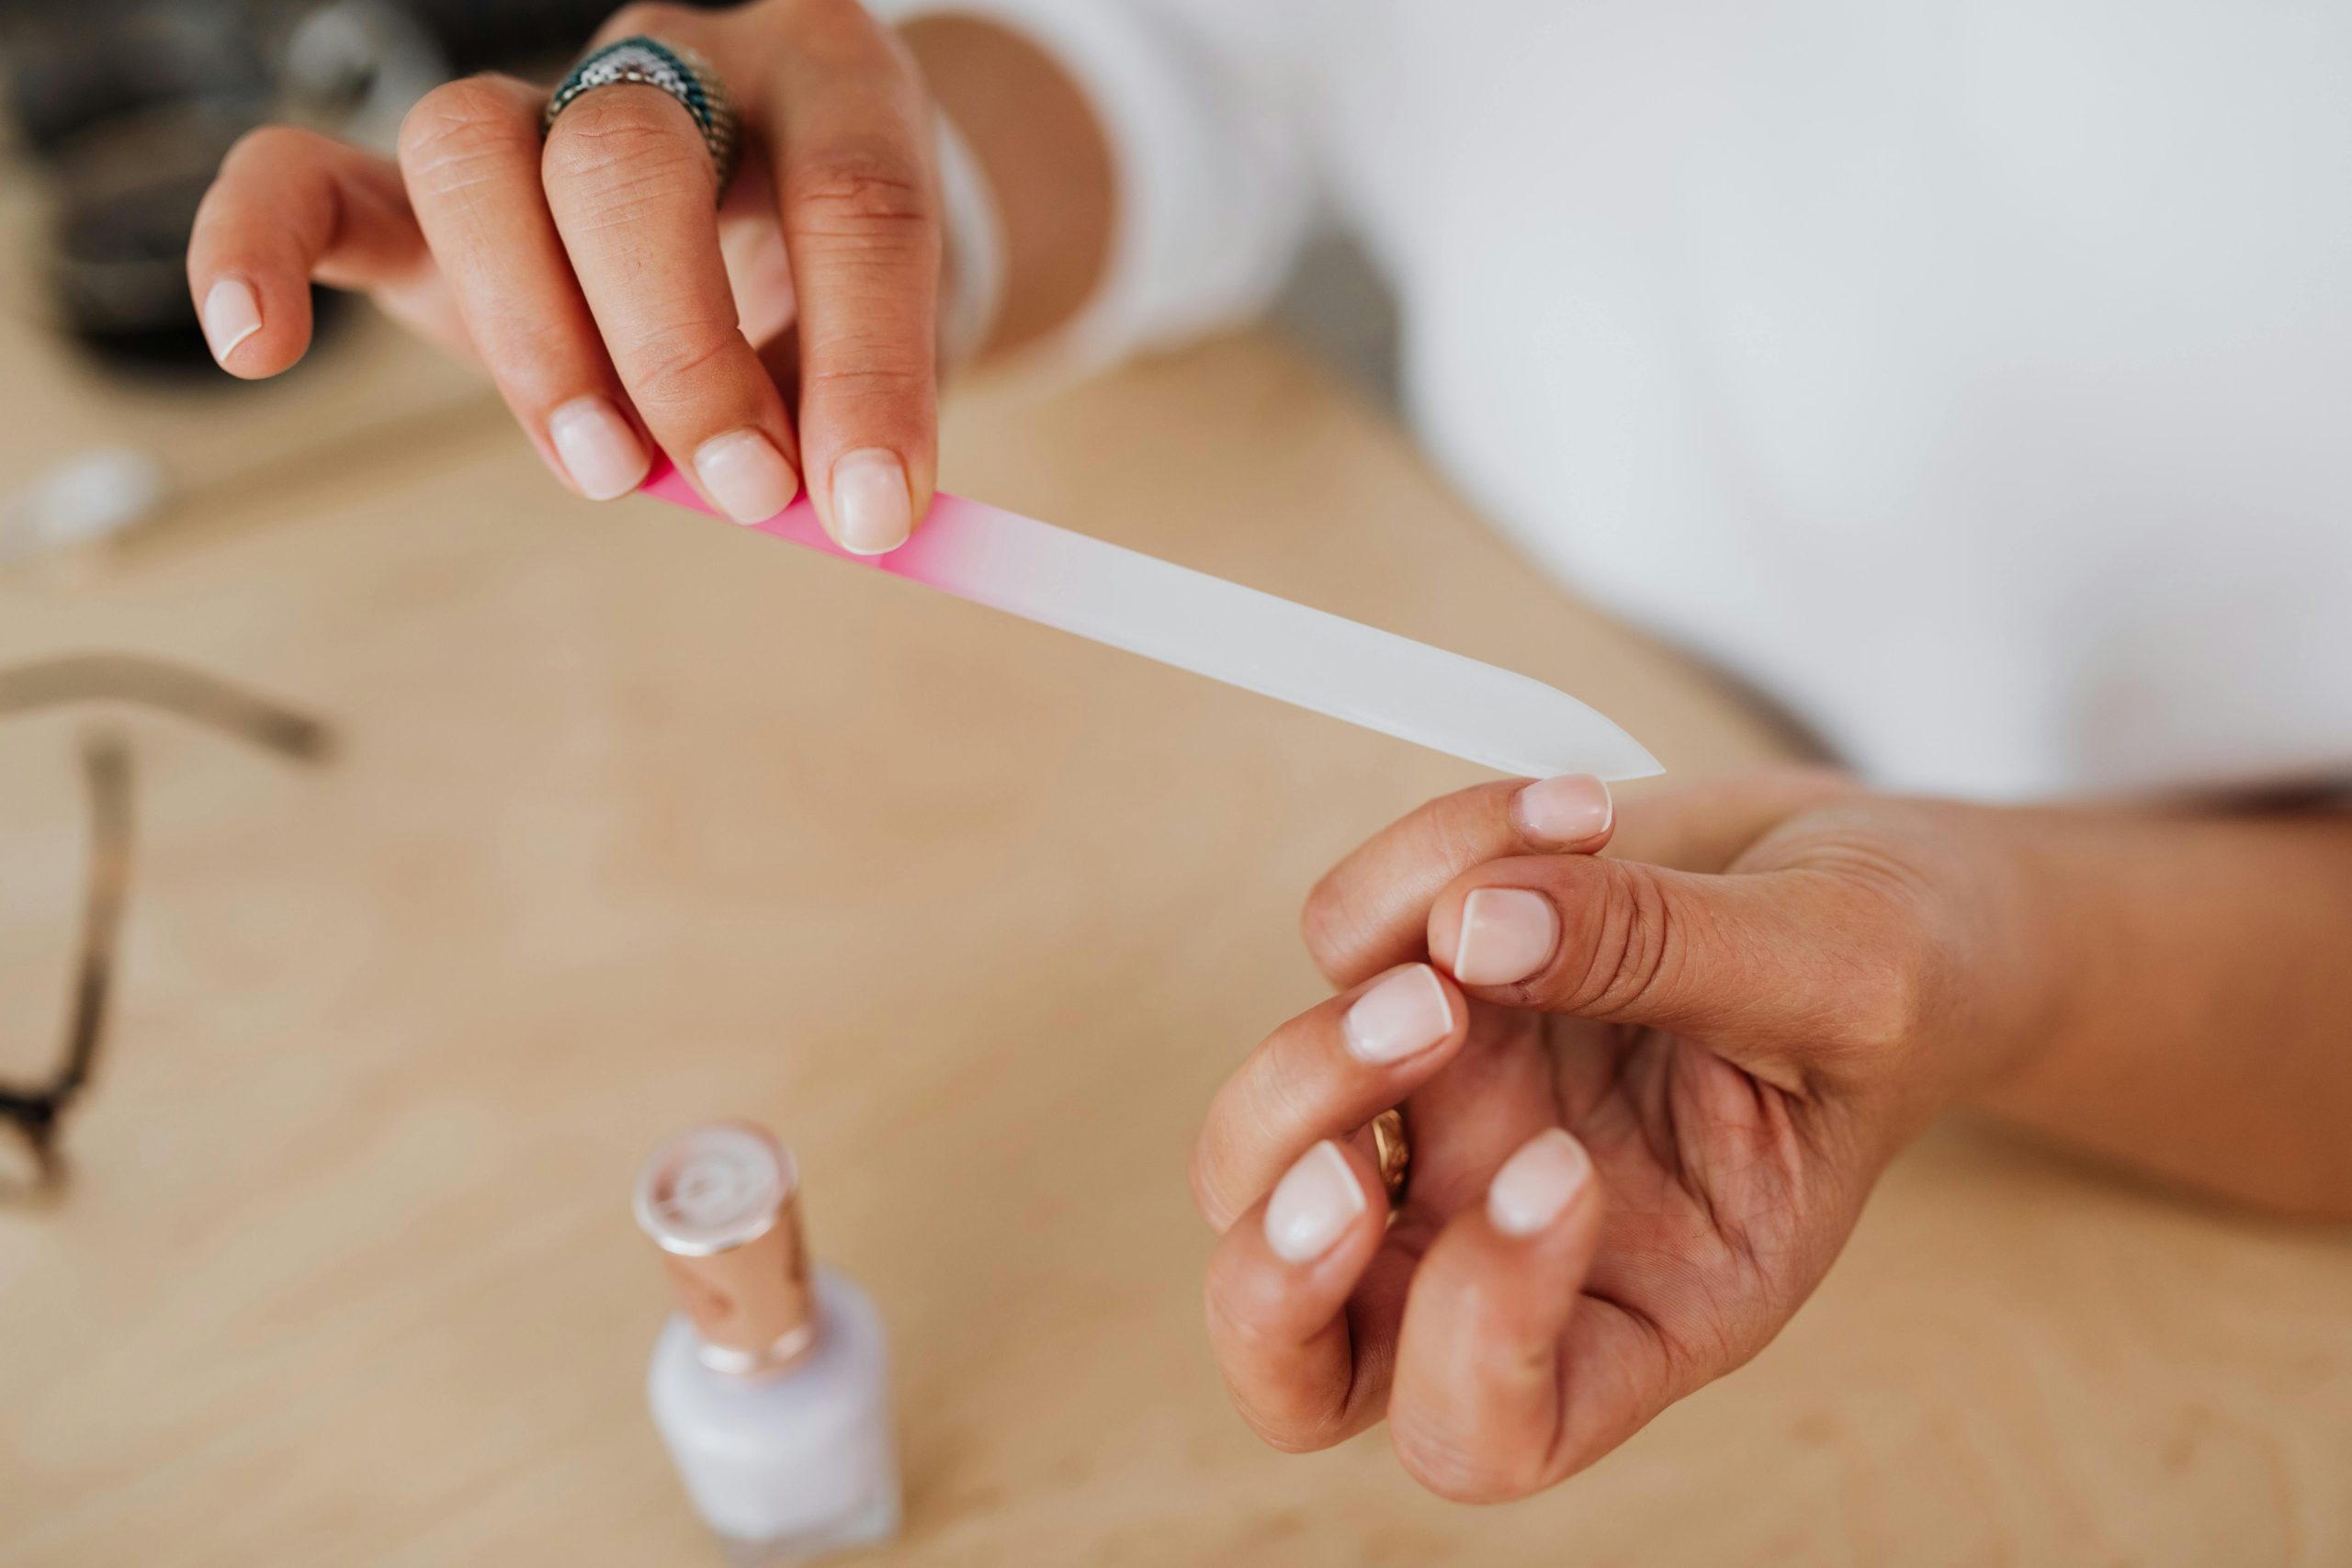
The first thing to consider for great at-home nails, is that you can’t rush the prep. In fact, you should prepare your hands just like they do in the salon. That means:
- Wash your hands and then clean your nails (whether they have polish on or not) using a tissue and a nail polish remover to get rid of any oil or patchy colour
- Cut your nails if required, leaving enough length to be able to shape them
- For a rounded shape, use a glass nail file (it’s gentler) starting from the sides and moving in one direction (not back and forth) to avoid rough edges
- For a square style, shape from the top; moving from the centre outwards
- Buff your nails, always moving the buffer in the same direction and focusing on uneven ridges and your edges
- Gently push back your cuticles, using cuticle remover to soften them if required. Avoid cutting them as this will make your hands sore – and don’t confuse remover with cuticle oil, as oil can reduce the life of your mani.
Top tip: if you have very short nails which don’t need cutting, don’t think you can skip the prep step. Buffing and shaping where you can will help your mani last longer.
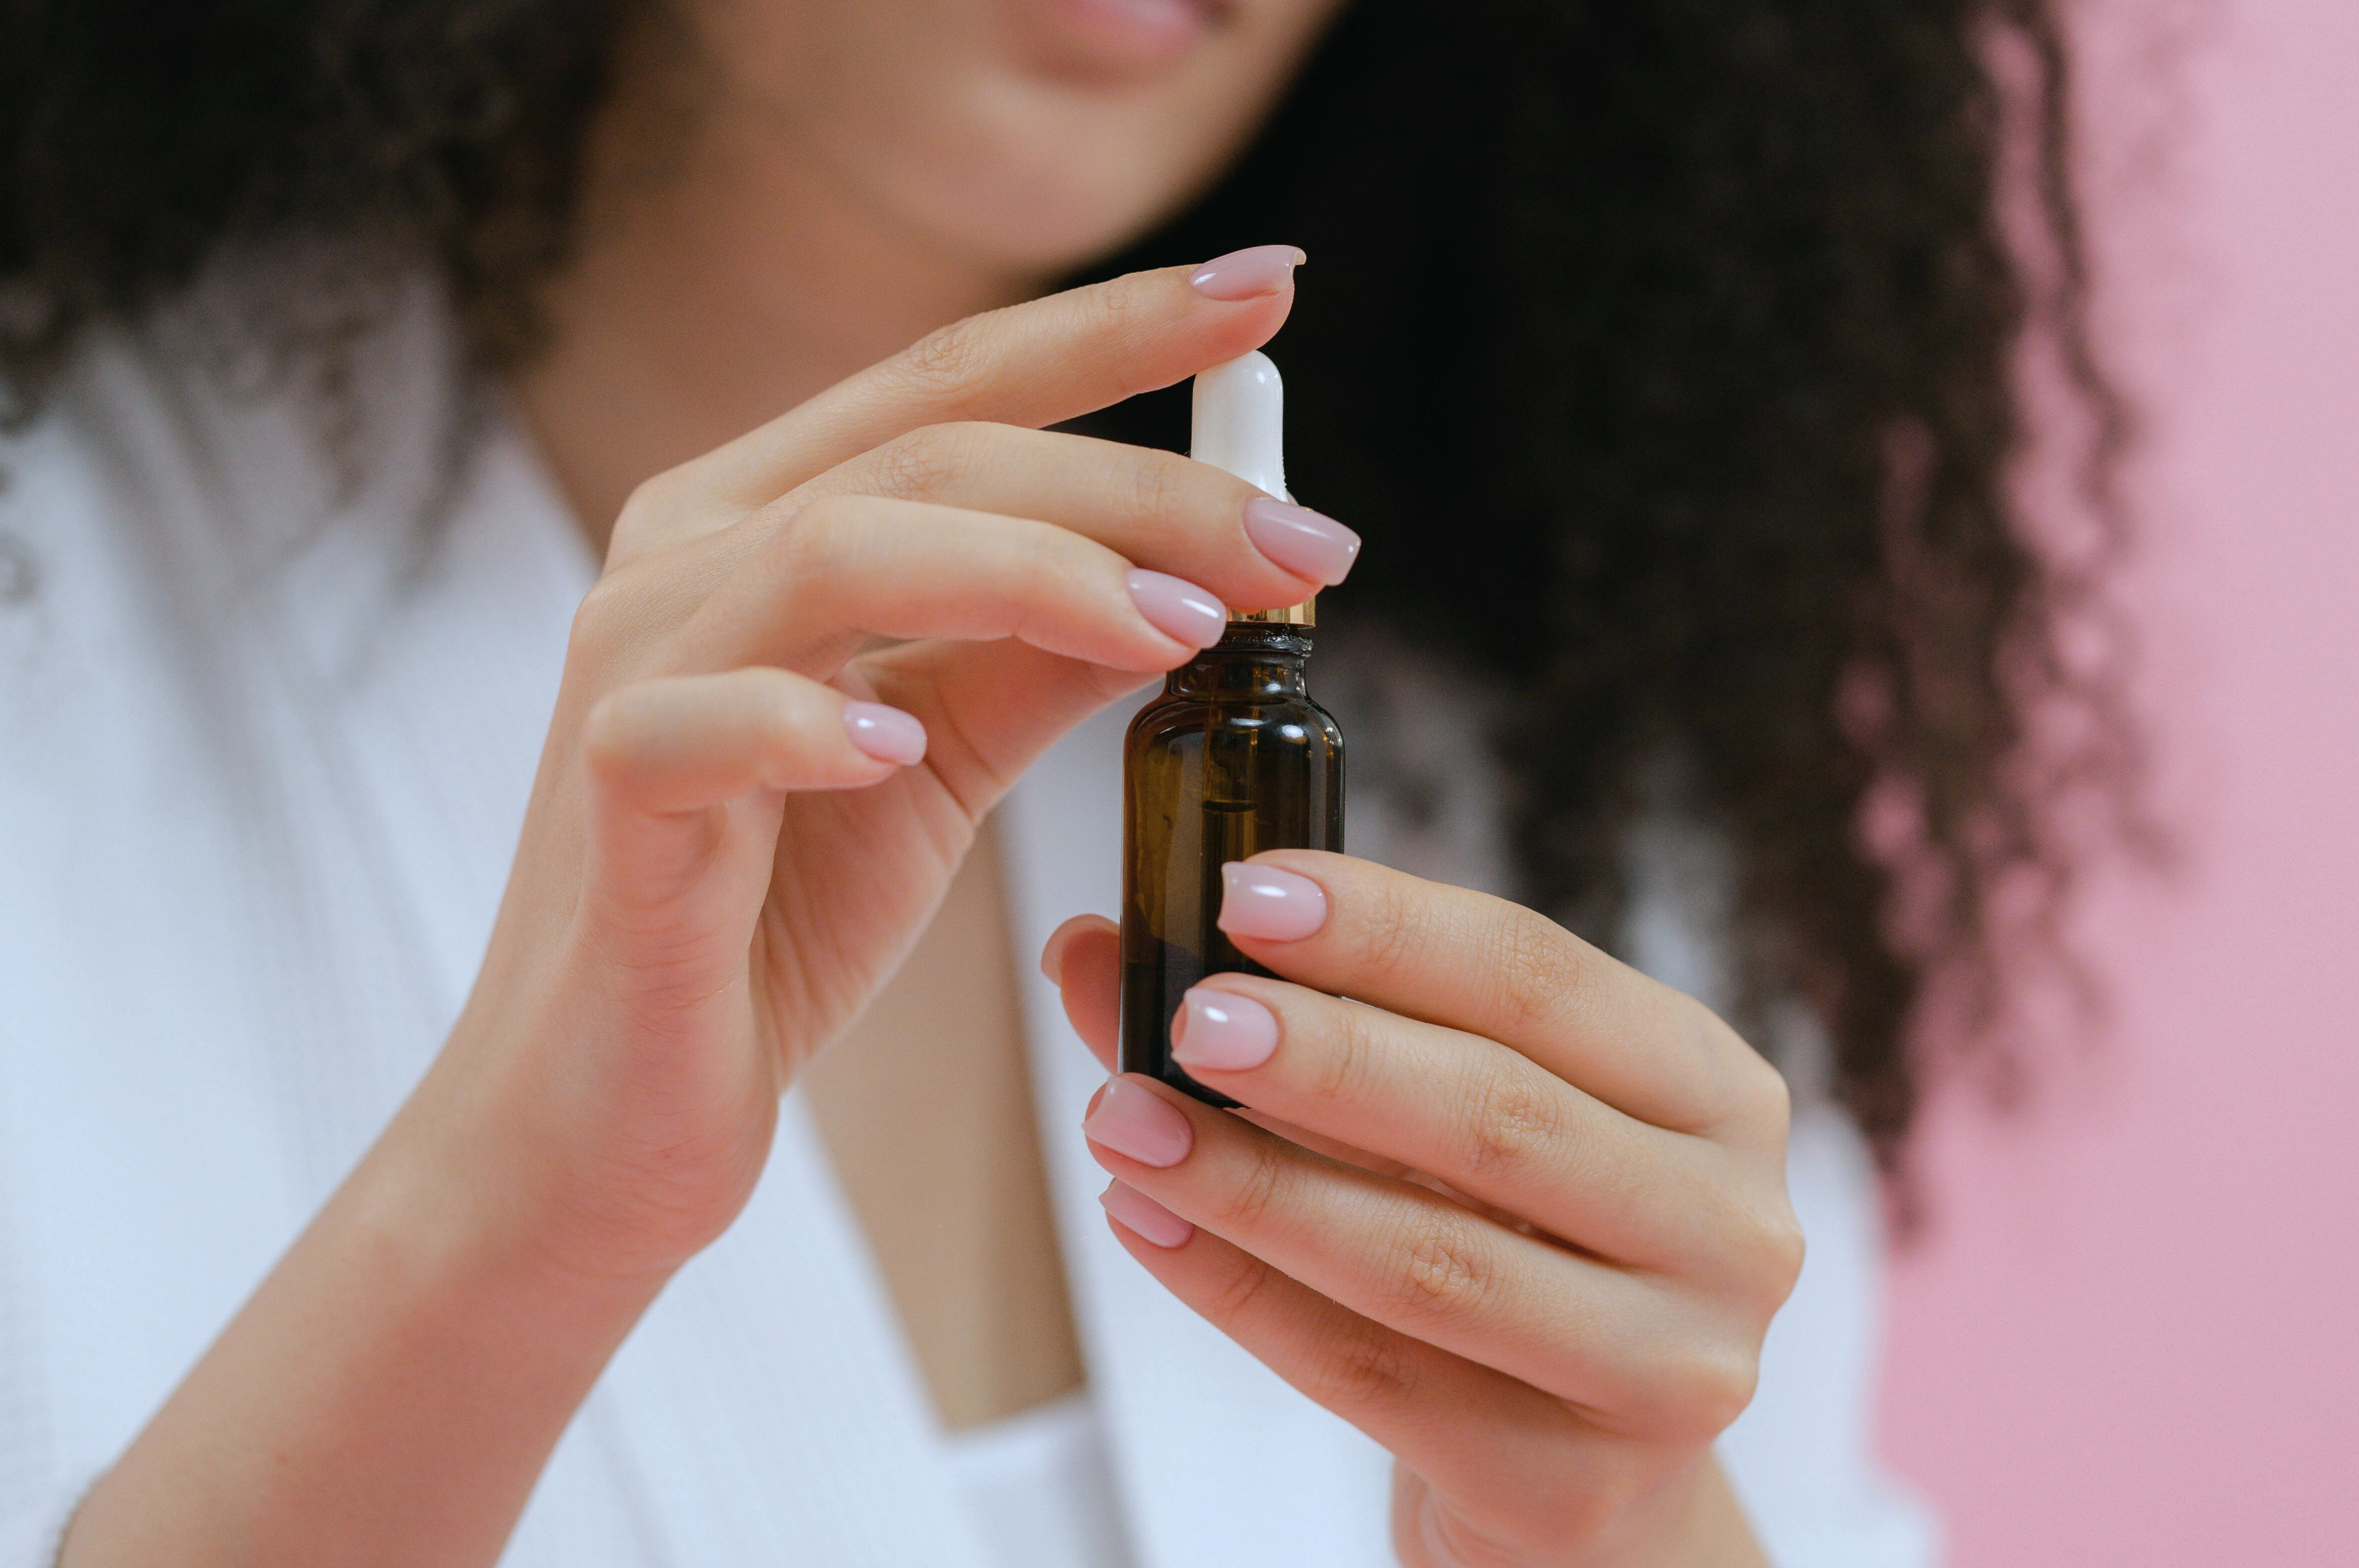
Use a base coat
Once you have trimmed, filed and buffed your nails, there is one final preparation step: a base coat. You might wonder if it’s worth your time to apply it, but this unassuming translucent formula is a must. Firstly, it helps protect your nails from staining when the polish is removed but, more importantly, it is designed to ensure your chosen colour adheres more strongly to your nails – meaning your mani will last longer and is less likely to chip. All base coats tend to work in a similar way, but there are slightly different variations to bear in mind. For example, strengthening formulas can be worth looking at if you have weak and flaky nails that are prone to breaking, and this is especially important if the reason you’re choosing to do your nails at-home is because they’ve been weakened by in-salon gels.
Top tip: if you really are short on time, there are some polishes that include base coat ingredients within their colours for an all-in-one application.

Consider at-home gels
Another innovation making your at-home manicures easier (and more long-lasting) is the rise of at-home gels. Brands to look out for include Mylee, Manucurist and Red Carpet Manicure. Their kits include gel-based colours that you can cure yourself using an LED lamp, just like your nail tech does in the salon. The tech is actually surprisingly easy to use, with base and top coats included, and detailed instructions to make sure you get the results you are looking for.
We’d recommend also looking for a gel kit that includes removal tools so you don’t end up either having to pay for a nail bar to take off your gels or – let’s be honest – risk damaging your nails by attempting to pick off the colour yourself.
Top tip: you should only use a UV lamp that has been proven to work with your chosen gel nail-colour brand both for safety and efficacy.
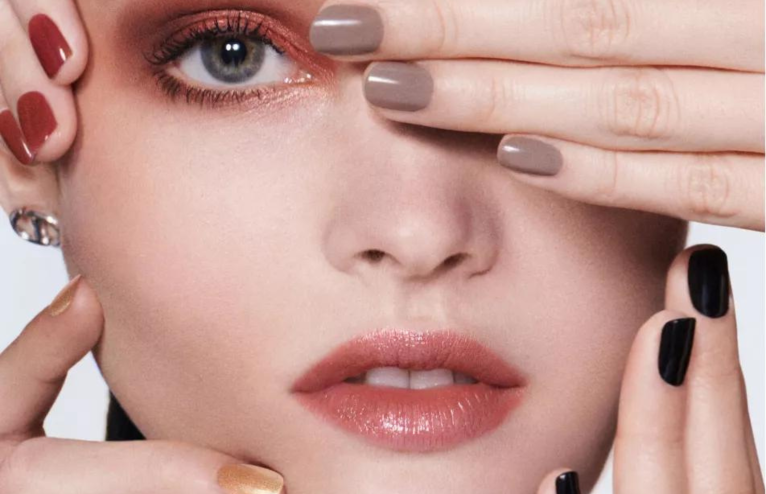
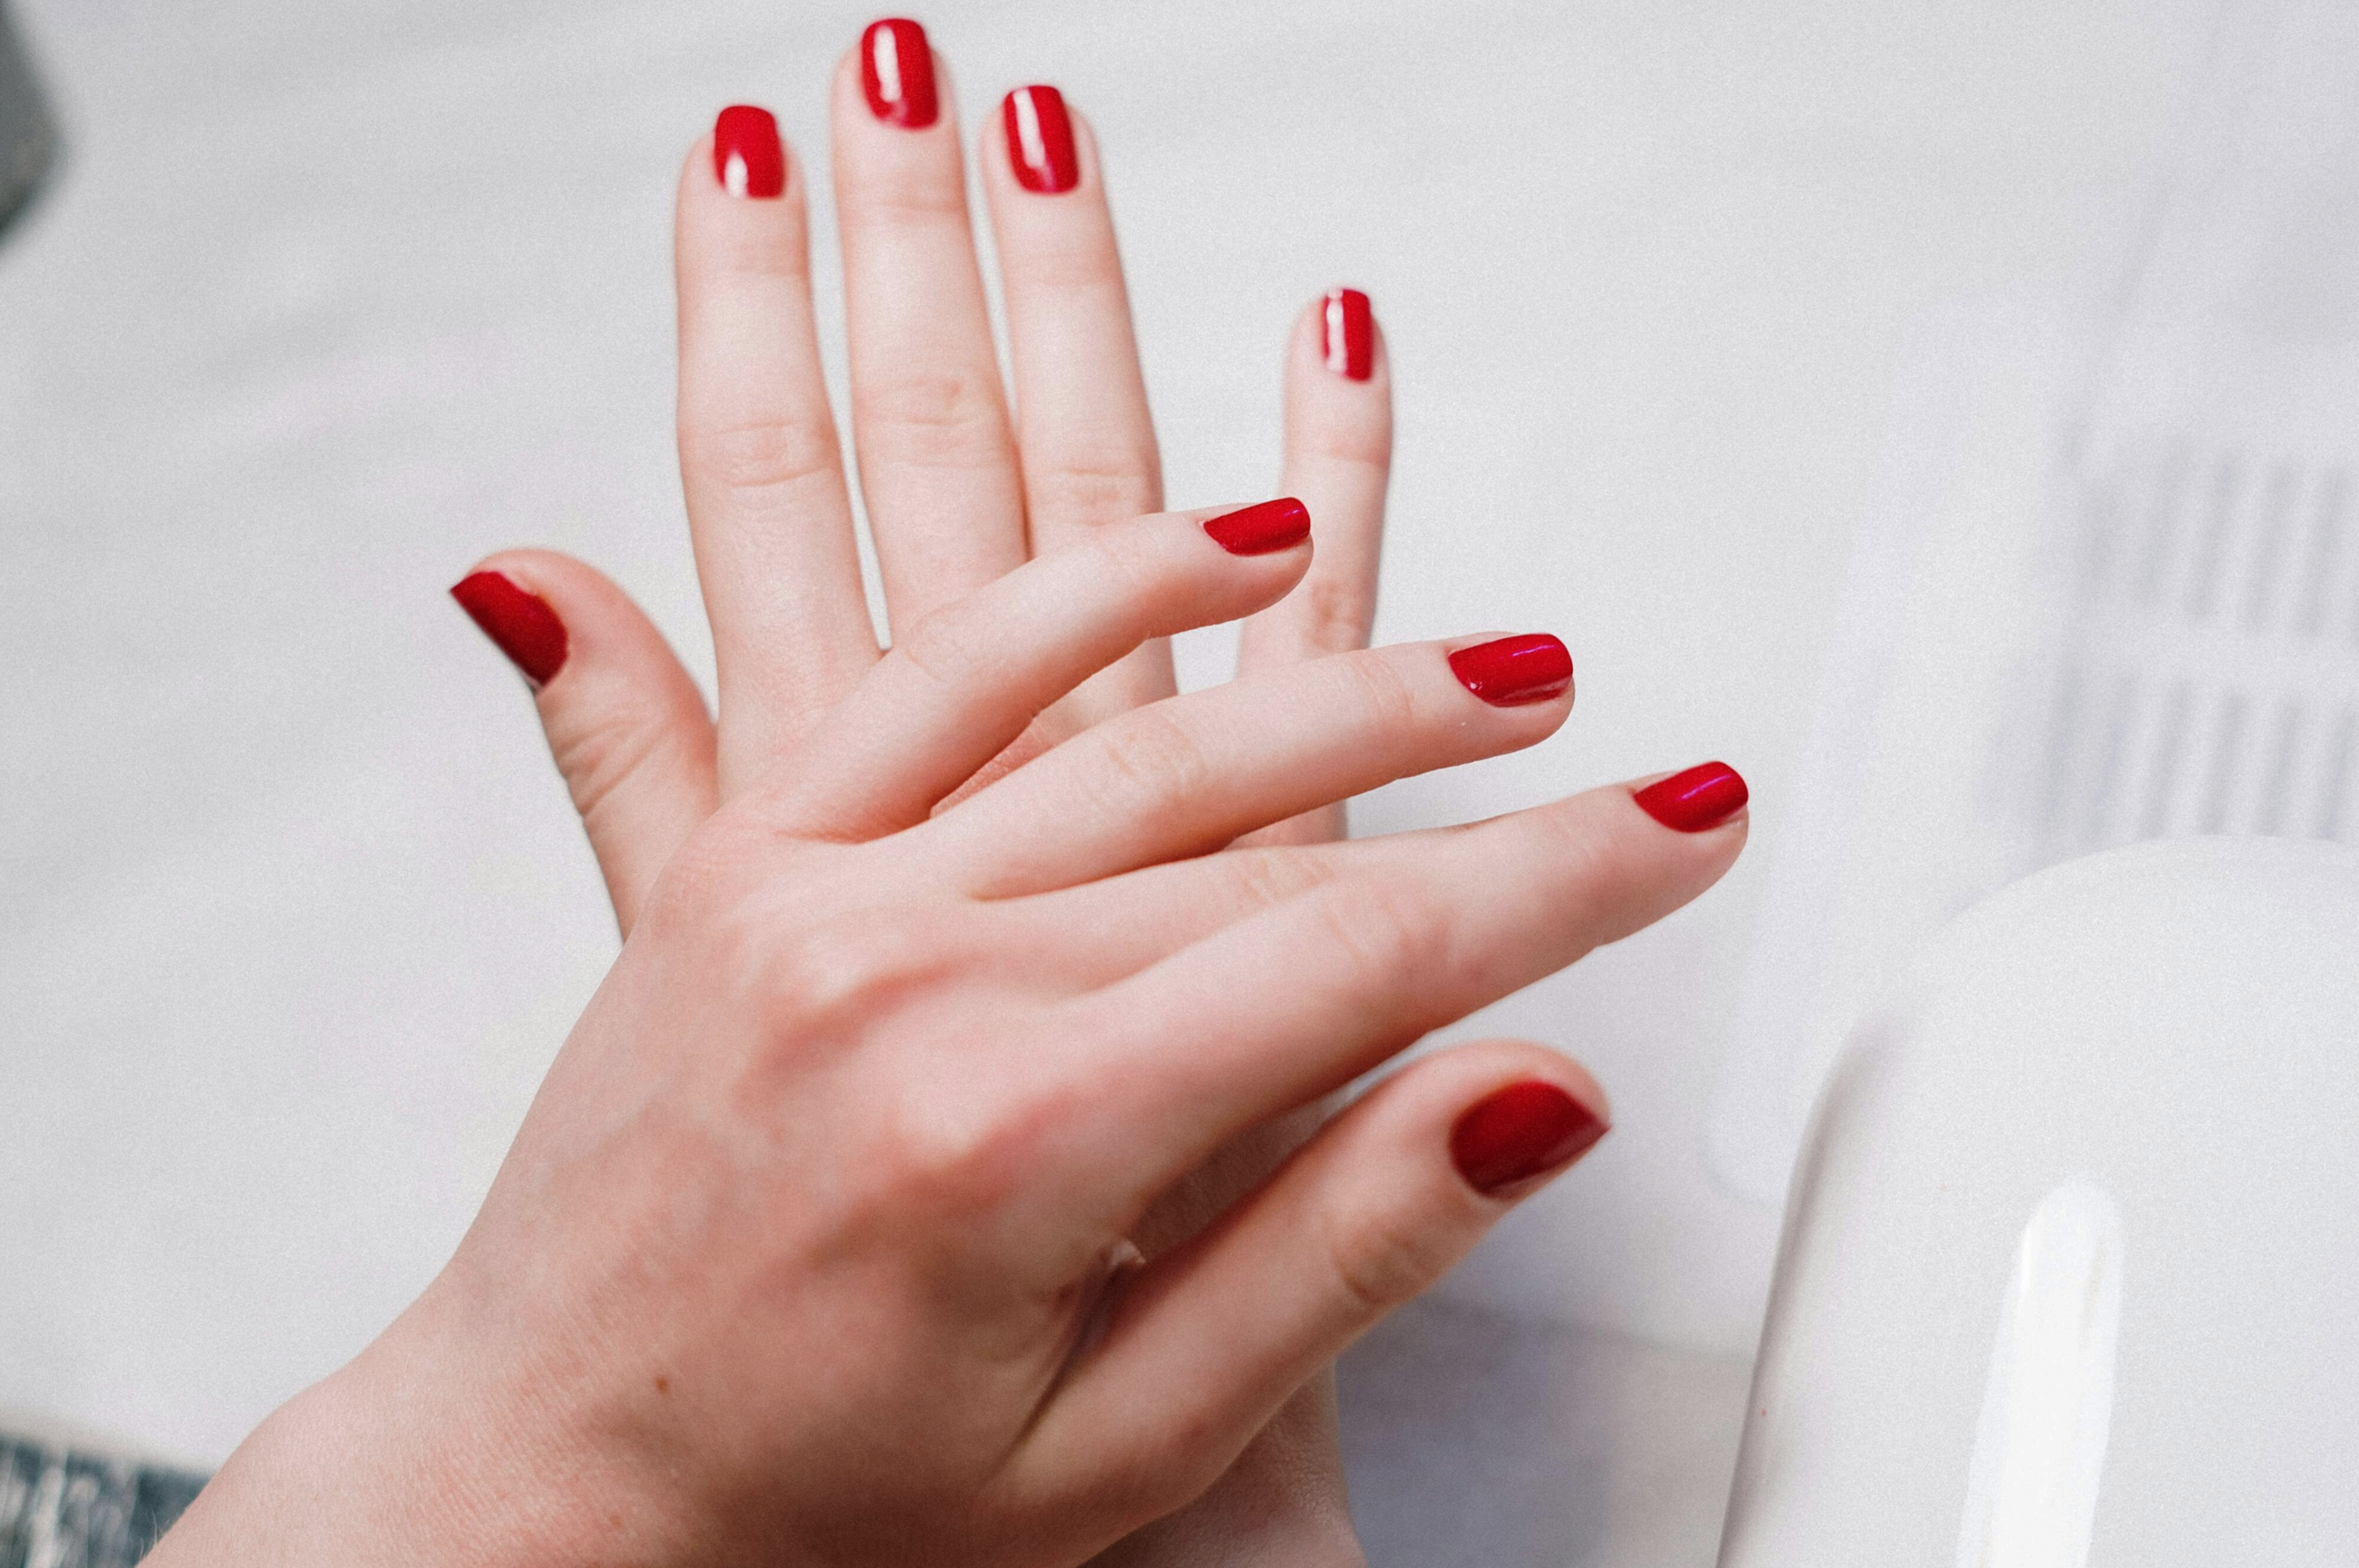
Choose a colour
Choosing your nail colour can be the most fun, and sometimes indecisive, moment of your manicure – one benefit of using non-gel polishes is the ability to switch colours a lot more frequently. You can never go wrong with a glossy pale pink or statement red; these classic colours instantly make you look more put together.
This spring/summer the world is your oyster when it comes to nail colour trends. One of our favourites is the ‘soft clash’, which is perfect for your next event. It involves thinking of a shade that contrasts with your outfit, and choosing a slightly muted version of the colour to make it more wearable.
Top tip: using two coats of polish isn’t a marketing ploy. It will help you avoid patchiness and ensure you achieve the perfect colour intensity.
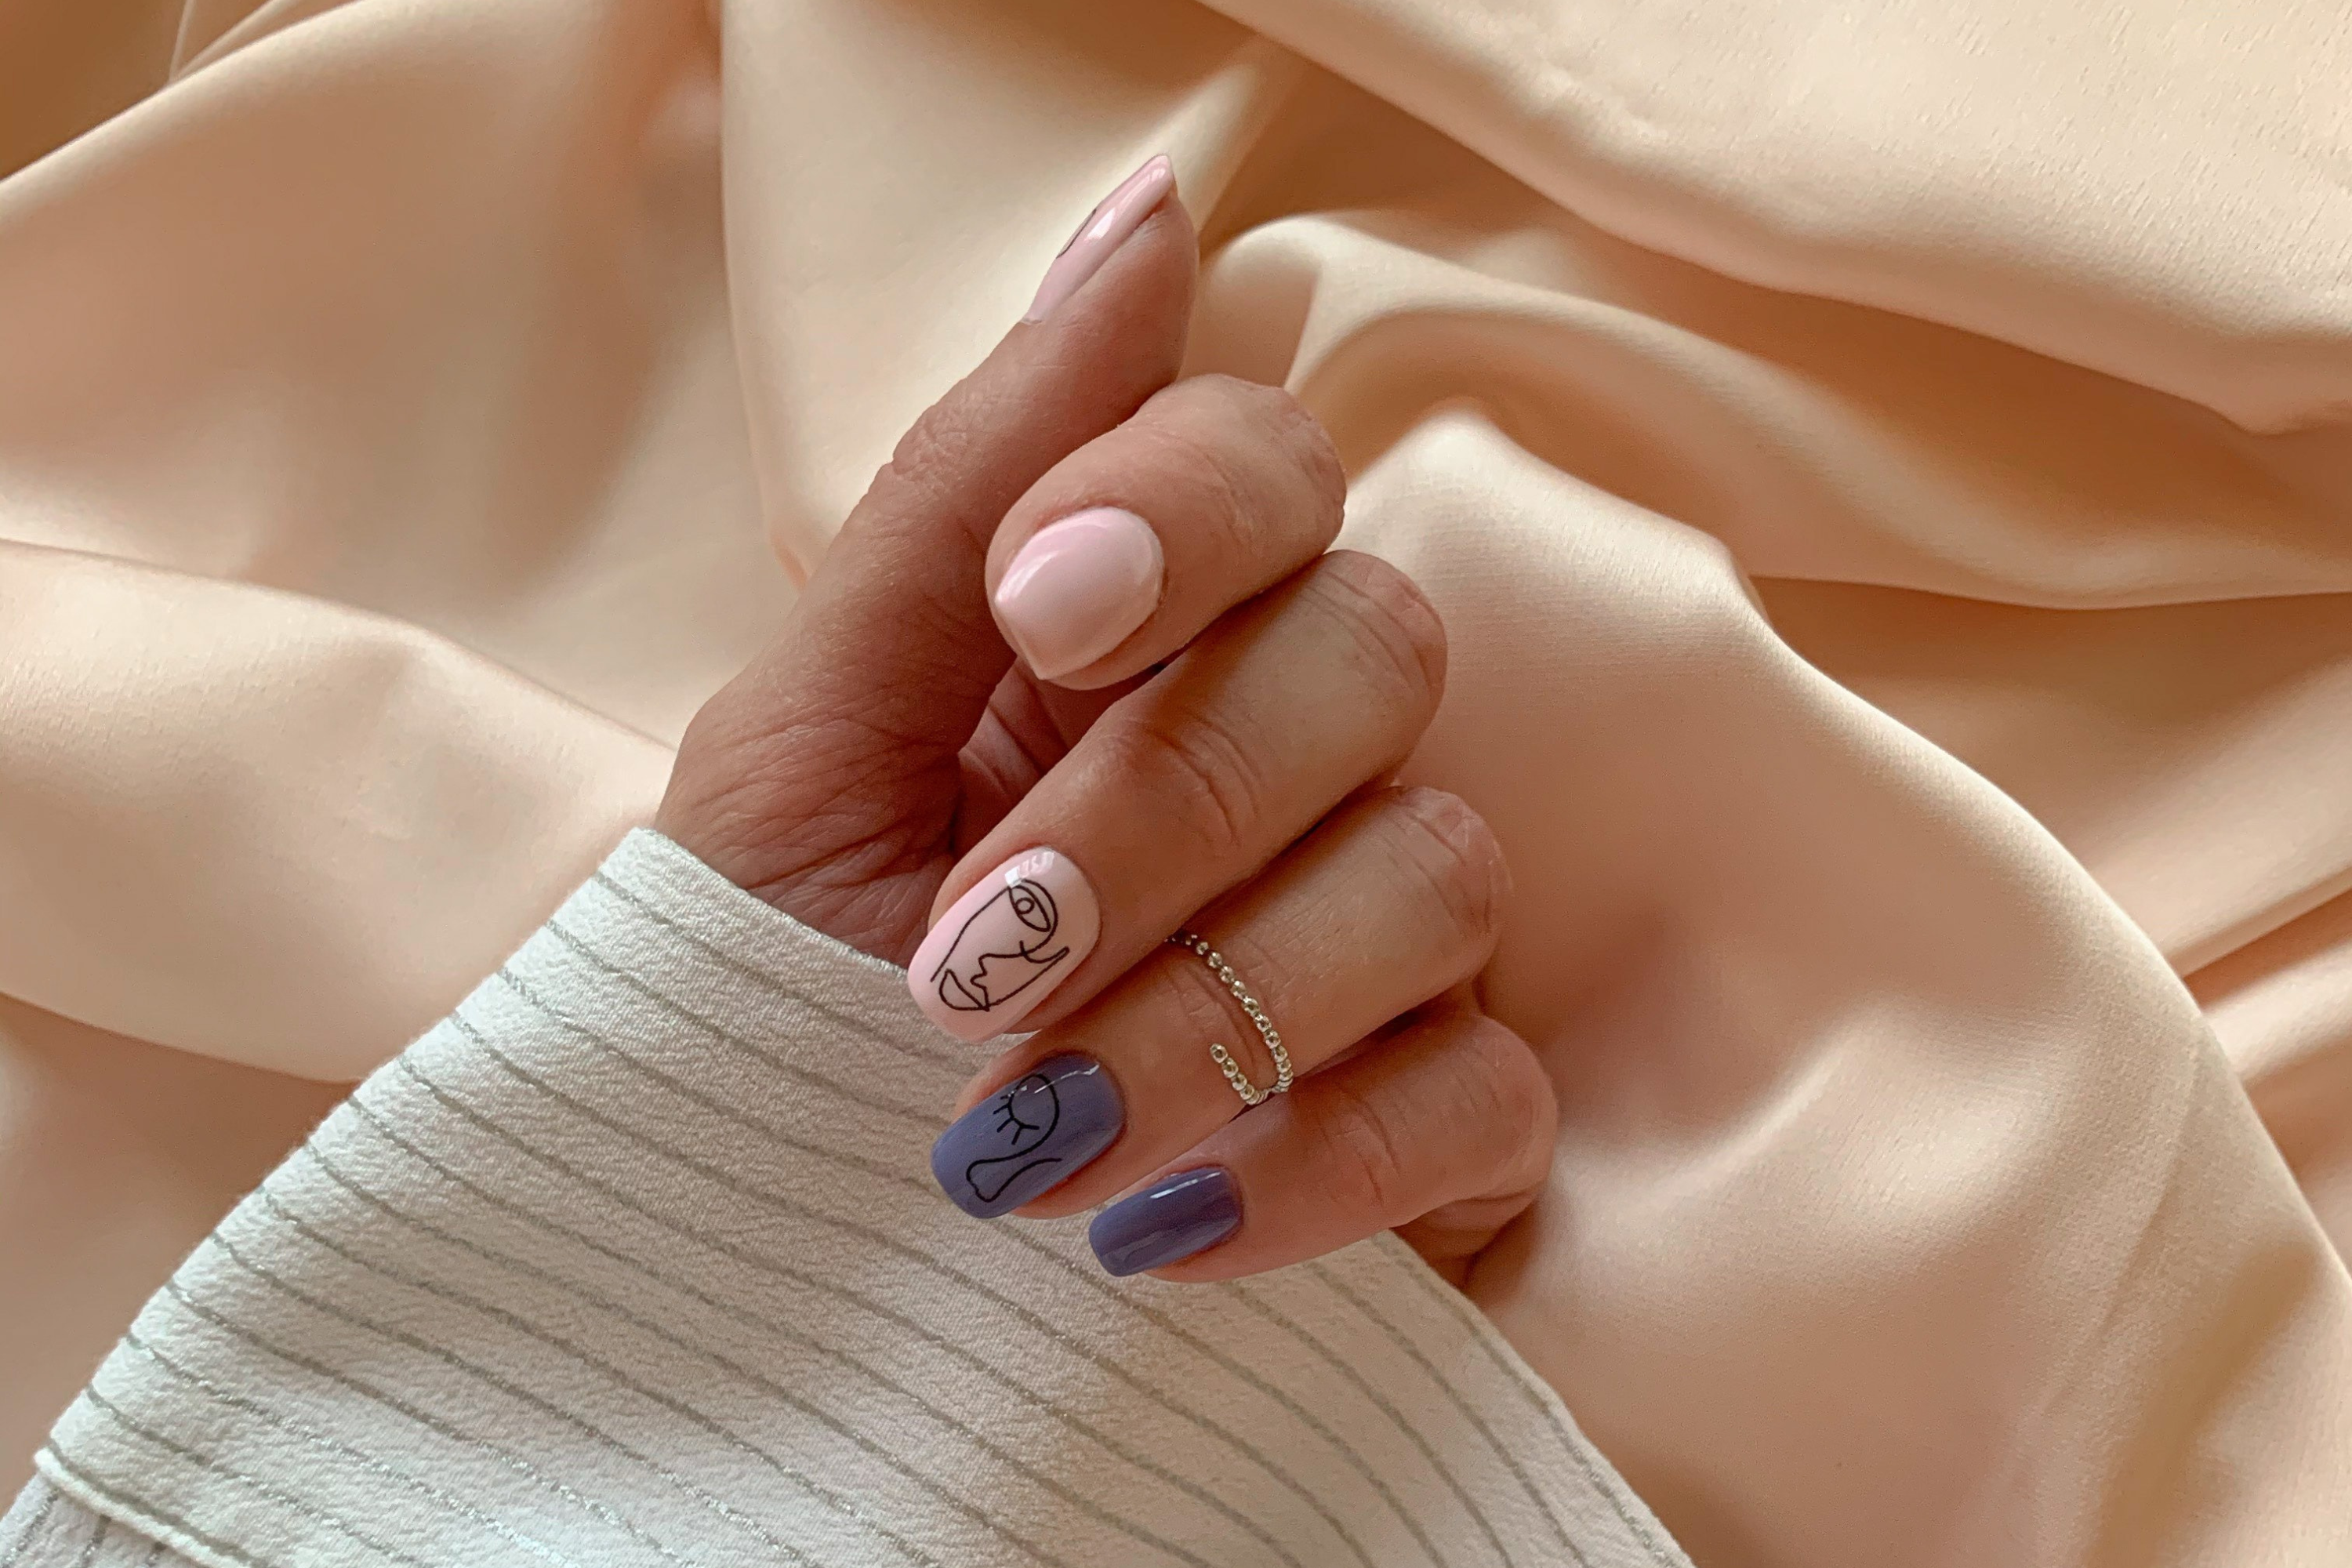
Experiment with nail art
If you think that nail art is just for the experts, think again. While beginners may want to start with some simple designs, there are a growing number of at-home nail tools that can help you get creative.
For the least artistic of us, Ciate’s stickers and wraps mean you simply apply your chosen design straight onto your nails, as a fast and non-damaging mani solution. If you are a little more confident, dotting tools and micro-brushes are your best friend. Even brightly-coloured lines and little dots can be highly effective as a first attempt.
Top tip: make sure your base colour is totally dry before you start, otherwise you’ll end up smudging your nails.
Use a top coat
A top coat adds protection and longevity to your manicure so again, don’t skip it. Just make sure your nails are actually dry before you try to apply it. You can choose between different finishes to customise your mani too, with glossy, matte and even quick-dry formulas if you feel a little short of time.
As for how to apply it, you want to achieve a really thin layer so your nails don’t start looking bumpy – which means taking the time to wipe excess product from the brush before you begin. It’s also really important that you seal the edges of your nails to prevent chipping and peeling; pay particular attention to the sides and top of your nail bed. One coat should be enough, but if you want a super-glossy finish, wait for the first layer to dry and then apply enough to amplify the effect.
Top tip: to add a statement touch to your manicure, try using a glittery top coat that looks especially pretty in the summer sunshine.
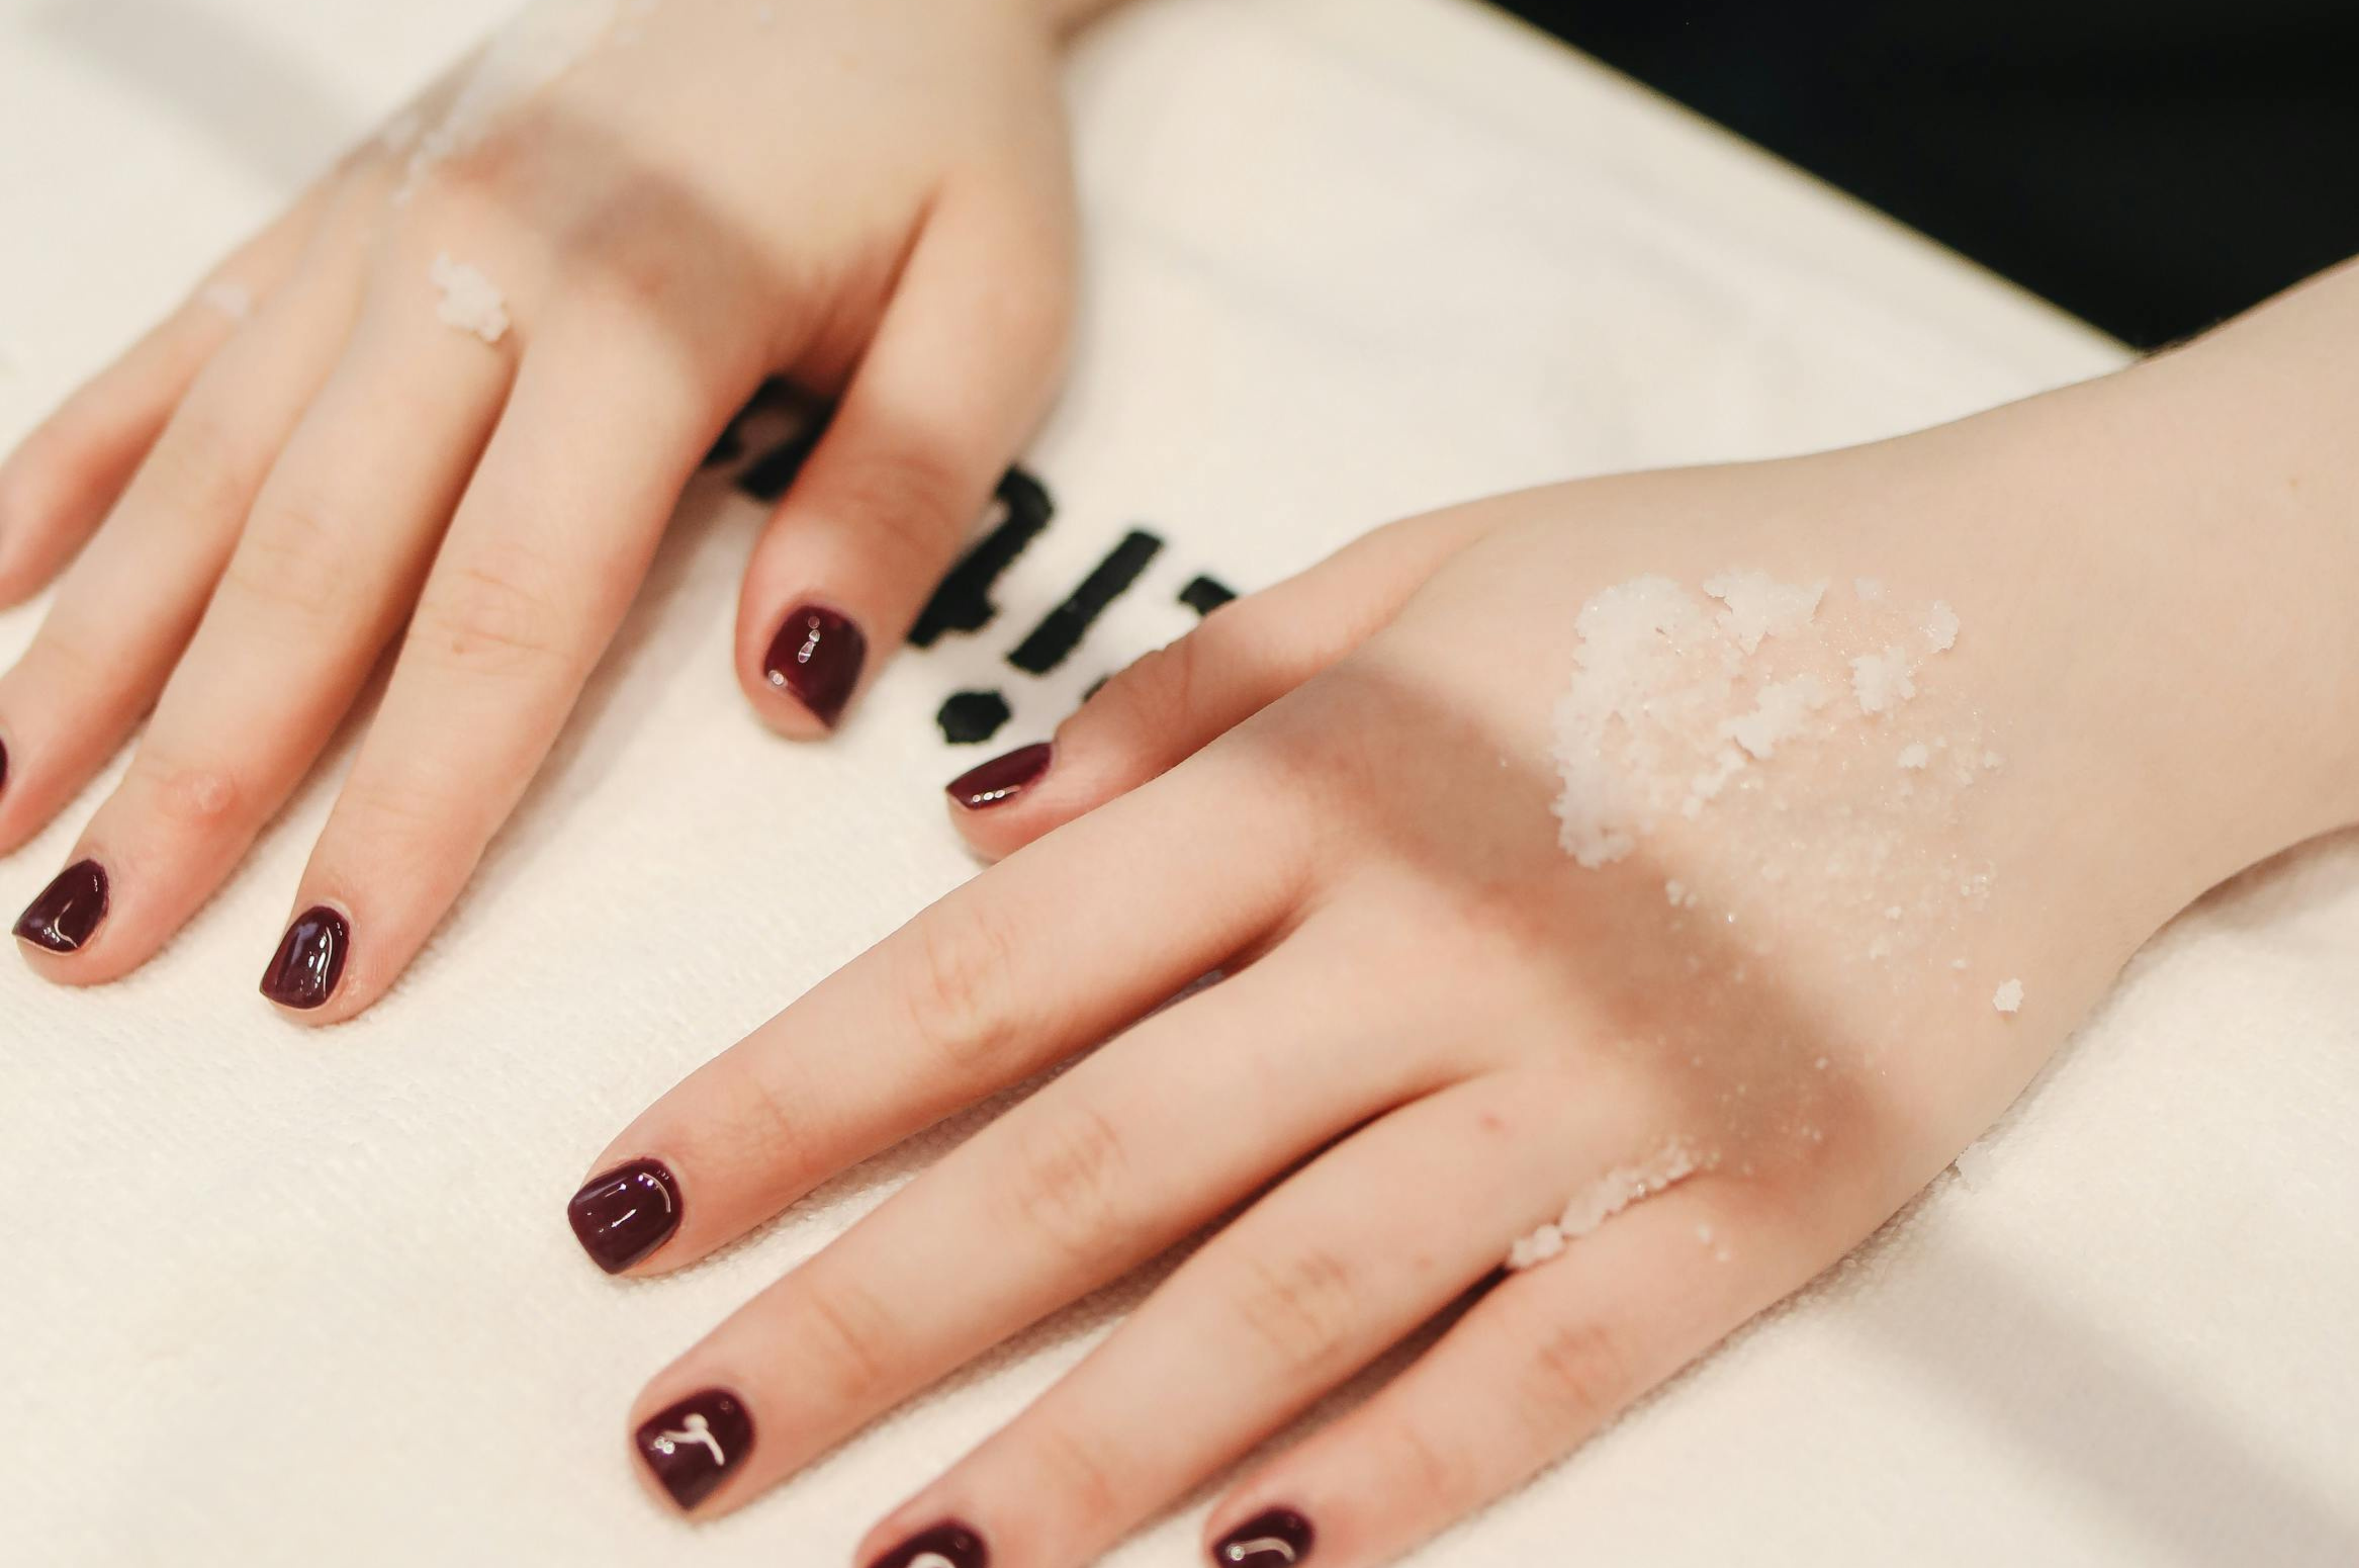
Finish with a pamper
Just as in the nail salon, a manicure is not just about colour and shape – it’s a chance for a bit of pampering too. Make sure you leave time for your polish to dry, then finish the whole experience off with an indulgent hand cream, such as CF favourites Aesop’s Resurrection Aromatique Hand Balm and L’Occitane’s Shea Butter Hand Cream. Take the time to give your hands a tension-relieving massage with your chosen cream, paying particular attention to areas such as the knuckles that can be surprisingly tight and sore.
Then, as the final flourish, pamper your cuticles with oil to keep the edges of your nails soft and hydrated. This will also extend the life of your manicure, by helping keep dryness at bay. You can use the likes of Margaret Dabbs’ Pure Cuticle Oil and Chanel’s La Manicure De Chanel L’Huile Camelia at least twice a day.
Top tip: using a hand scrub can add some much-needed radiance to your hands. Just be careful to use it gently to avoid scratching your polish.
We may earn a commission if you buy something from any affiliate links on our site.

Any Questions or Tips to add?